
- 이 강의는 Promise를 공부하고 들어주세요.
https://ossam5.tistory.com/367
[ES6강좌] 10강 JS Promise - 오쌤의 니가스터디
1. JavaScript Promise Object - Promise는 Producing code(생성코드)와 Consuming code(소비코드)를 연결하는 Javascript 객체입니다. - Producing code(생성코드)는 시간이 걸릴 수 있는 코드입니다. - Consuming code(소비코드)
ossam5.tistory.com
- async/await는 ES8에 나온 문법입니다.
- async/await는 Promise를 작성하기 쉽게 만드는 키워드 입니다.
- async는 함수가 Promise를 반환하도록 하고, await는 함수가 Promise를 기다리게 합니다.
1. async 구문
- async는 함수가 Promise를 반환하도록 합니다.
1) 함수 앞의 키워드로 사용
- async 키워드를 함수 앞에 작성하면 함수가 Promise를 반환하도록 합니다.
## 함수와의 비교
async function testFunction() {
	return '안녕하세요?';
}

//는 아래 코드와 같다.

function testFunction() {
	return Promise.resolve('안녕하세요?');
}
- 위의 코드는 생성 코드만 작성한 상태입니다.
- Promise를 사용하려면 아래 소비코드도 작성해야 합니다.
testFunction().then(
	function(value){ /* 성공했을 때 코드 */ }
    	function(error){ /* 에러났을 때 코드 */ }
);
## 코드 예시 보기
<!DOCTYPE html>
<html lang="ko">
    <head>
        <meta charset="UTF-8">
        <title>Promise</title>
    </head>
    <body>
        <script>
            async function testFunction(){
                return '안녕하세요?';
            }
            testFunction().then(
                function(value){ console.log(value); }
            );
        </script>
    </body>
</html>
## 결과 보기

- 결과는 역시 잘 나옵니다.
2. await 구문
- await는 함수가 Promise를 기다리게 합니다.
- await는 async 함수 내에서만 사용할 수 있는 키워드입니다.
- await 키워드는 함수가 실행되는 것을 일시 중지하고 계속하기 전에 해결된 Promise를 기다립니다.
## 문법
let value = await promise;
1) 기본적인 구문
## test.html
<!DOCTYPE html>
<html lang="ko">
    <head>
        <meta charset="UTF-8">
        <title>Promise</title>
    </head>
    <body>
        <script>
            async function testFunction(){
                let testPromise = new Promise(function(resolve){
                    setTimeout(function(){ resolve('출력되었다!'); },3000);
                });
                let output = await testPromise;
                console.log(output);
            }
            testFunction();
        </script>
    </body>
</html>
- 매개변수는 resolve와 reject로 2개가 있지만, 에러 발생인 경우를 하지 않는다면 reject는 생략할 수 있습니다.
- 위와 같이 비동기 작업을 할 수 있습니다.
- 보면 그냥 3초 뒤에 발생시키면 안되는 것인가 생각할 수 있지만, 위코드는 문법을 이해하기 위한 코드일 뿐입니다.
- 실제로 async와 await가 가장 빛을 발하는 순간은 여러 개의 비동기 처리 코드를 다룰 때입니다.
## 결과 보기
- 3초 뒤에 콘솔창이 잘 나오는 것이 확인됩니다.
2) 파일 가져오기
## 불러올 [soccer.html]
<!DOCTYPE html>
<html lang="ko">
    <head>
        <meta charset="UTF-8">
        <title>테스트 페이지</title>
    </head>
    <body>
        <h3>2022년 카타르 월드컵</h3>
        <img src="https://cdn.pixabay.com/photo/2016/05/20/21/57/football-1406106_960_720.jpg" width="400" alt="">
        <p>카타르 월드컵이 시작되었습니다.</p>
    </body>
</html>
- 위와 같은 파일을 JS를 통해 불러온다고 보도록 하겠습니다.
## async / await를 사용해 파일이 불러와지기를 기다리는 코드
<!DOCTYPE html>
<html lang="ko">
    <head>
        <meta charset="UTF-8">
        <title>Promise</title>
    </head>
    <body>
        <h3>soccer.html 불러오기</h3>
        <p id="test"></p>
        <script>
            async function getFile() {
                let testPromise = new Promise(function(resolve) {
                    let req = new XMLHttpRequest();
                    req.open('GET', "soccer.html");
                    req.onload = function() {
                        if (req.status == 200) {
                            resolve(req.response);
                        } else {
                            resolve("File not Found");
                        }
                    };
                    req.send();
                });
                document.getElementById("test").innerHTML = await testPromise;
            }

            getFile();
        </script>
    </body>
</html>
- 현재는 같은 경로에 있지만, 실제로는 서버로부터 데이터를 전송받는다고 보면 됩니다.
- 그래서 내컴퓨터에서 그냥 테스트하면 안되고, [Live Server]같은 플러그인을 사용해서 테스트해보세요.
## 결과 보기
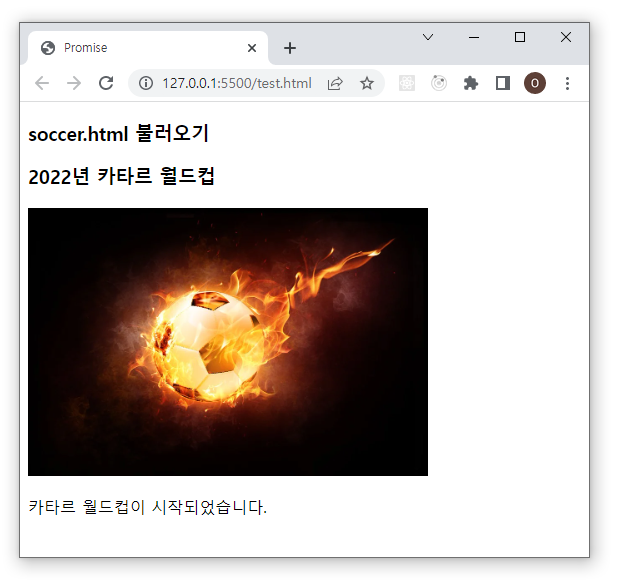
- 그럼 잘 불러와지는 것이 확인됩니다.
3) 서버 데이터 불러오기
- 서버에서의 데이터 통신이므로 jsonplaceholder사이트를 이용해 보겠습니다.
- jsonplaceholder사이트는 json데이터를 가져다 쓸 수 있게 해주는 무료 가짜 REST API입니다.
- 원래 타 사이트의 데이터는 크로스도메인 관련 문제 때문에 함부로 가져다 쓸 수는 없습니다.
https://jsonplaceholder.typicode.com/
JSONPlaceholder - Free Fake REST API
{JSON} Placeholder Free fake API for testing and prototyping. Powered by JSON Server + LowDB. Tested with XV. Serving ~2 billion requests each month.
jsonplaceholder.typicode.com
## async/await를 통한 서버데이터 불러오기
<!DOCTYPE html>
<html lang="ko">
    <head>
        <meta charset="UTF-8">
        <title>JS - Promise</title>
    </head>
    <body>
        <h3>jsonplaceholder 데이터 불러오기</h3>
        <p id="test"></p>
        <script>
            async function getDatas() {
                let testPromise = new Promise(function(resolve) {
                	document.getElementById("test").innerHTML = '로딩중...';
                    let datas = new XMLHttpRequest();
                    datas.open('get','https://jsonplaceholder.typicode.com/posts/1');
                    datas.onload = function() {
                        if (datas.status == 200) {
                            resolve(datas.response);
                        } else {
                            resolve("File not Found");
                        }
                    };
                    datas.send();
                });
                document.getElementById("test").innerHTML = await testPromise;
            }

            getDatas();
        </script>
    </body>
</html>
## 데이터 가져오는 것이 성공했을 때
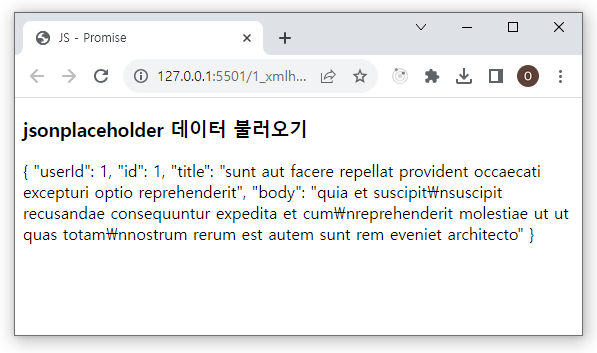
- 데이터를 가져오기 전까지는 로딩중이라고 뜨는 것이 확인됩니다.
- 데이터 가져오는 것이 성공하면 위와 같은 화면이 나옵니다.
## 데이터 가져오는 것이 실패했을 때
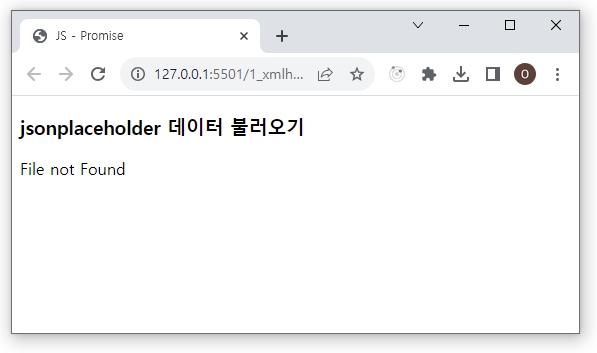
- 위는 주소를 일부러 틀리게 해봤습니다. 그럼 파일을 찾을 수 없다고 나옵니다.
'웹언어 > 자바스크립트 - ES6' 카테고리의 다른 글
| [ES6강좌] 15강 CustomEvent 제작하기 - 오쌤의 니가스터디 (3) | 2023.11.14 |
|---|---|
| [ES6강좌] 14강 Fetch API사용하기 - 오쌤의 니가스터디 (2) | 2023.10.05 |
| [ES6강좌] 12강 Tagged Template literals - 오쌤의 니가스터디 (0) | 2023.03.02 |
| [ES6강좌] 11강 Template literals - 오쌤의 니가스터디 (0) | 2023.03.02 |
| [ES6강좌] 10강 JS Promise - 오쌤의 니가스터디 (0) | 2022.11.24 |


